
Last updated November 15, 2026
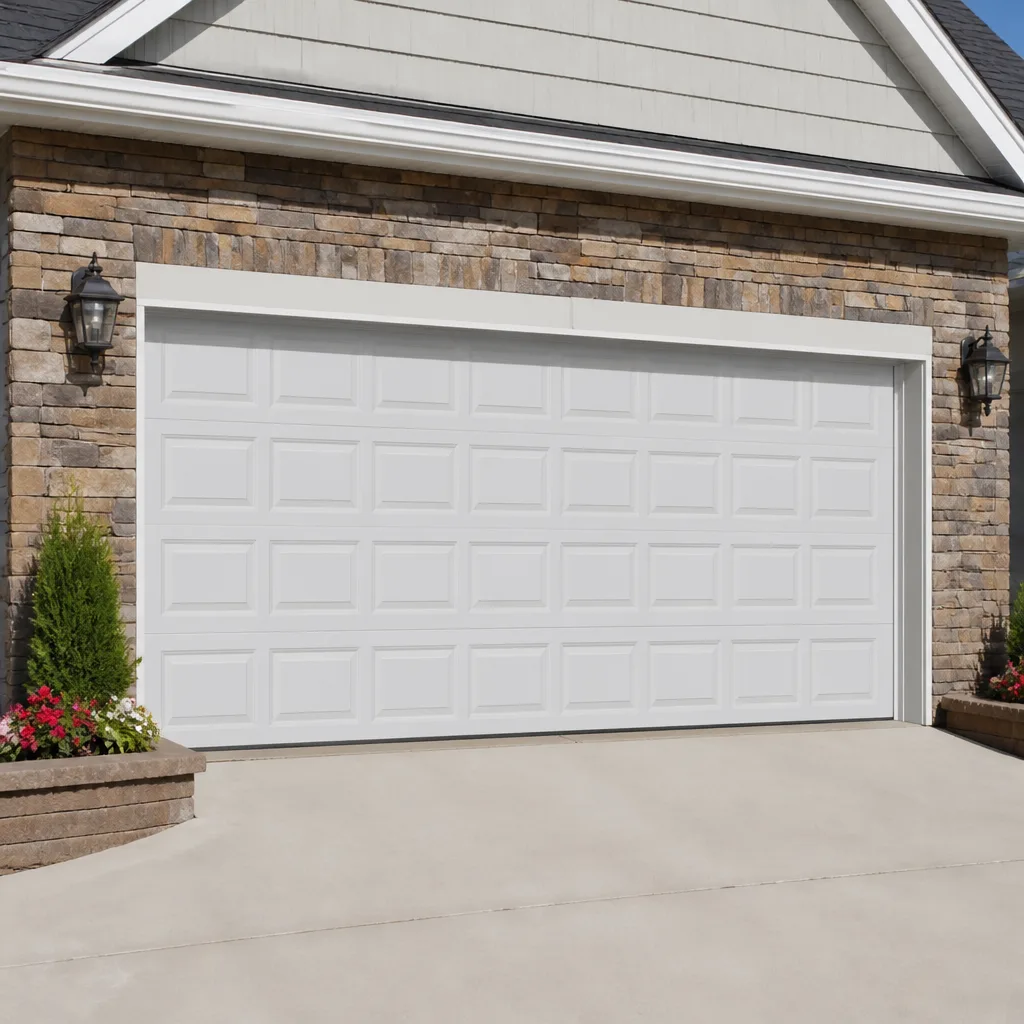 Raised-panel steel
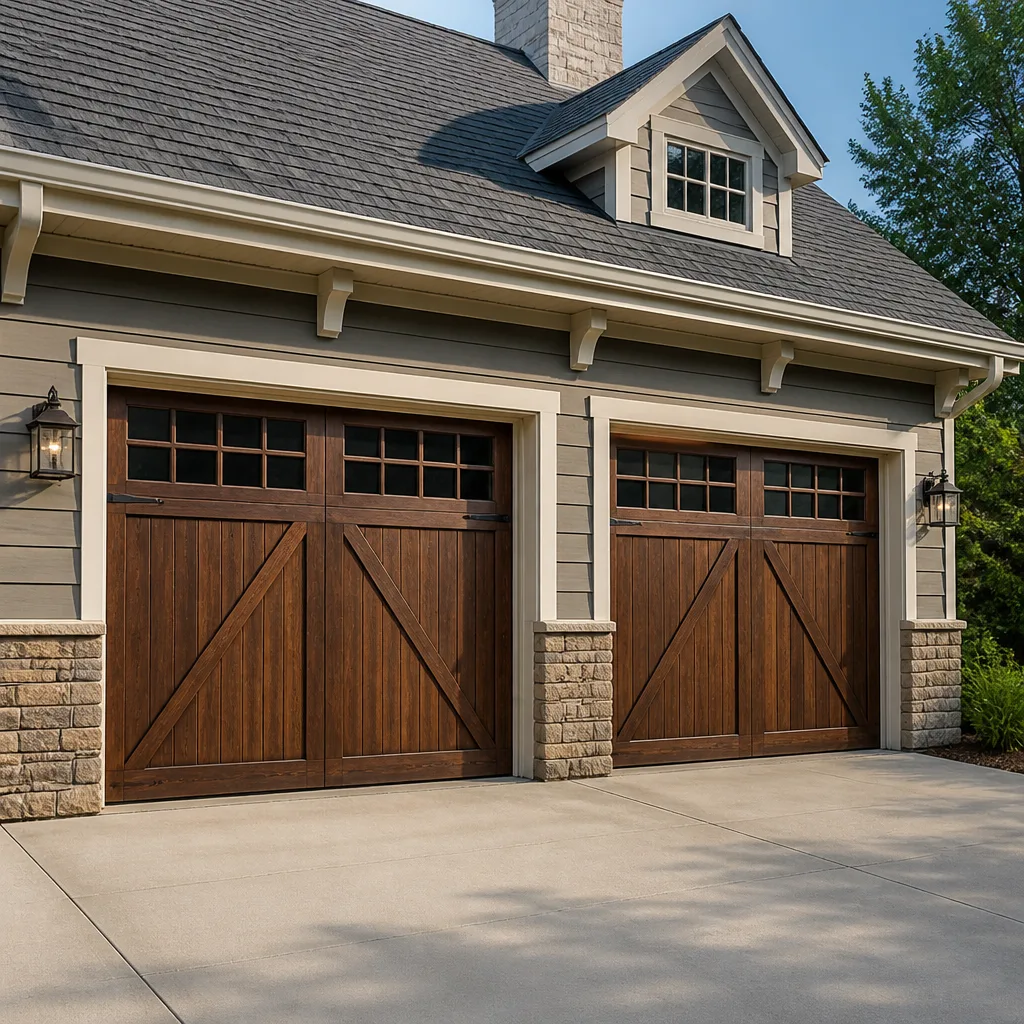 Carriage house
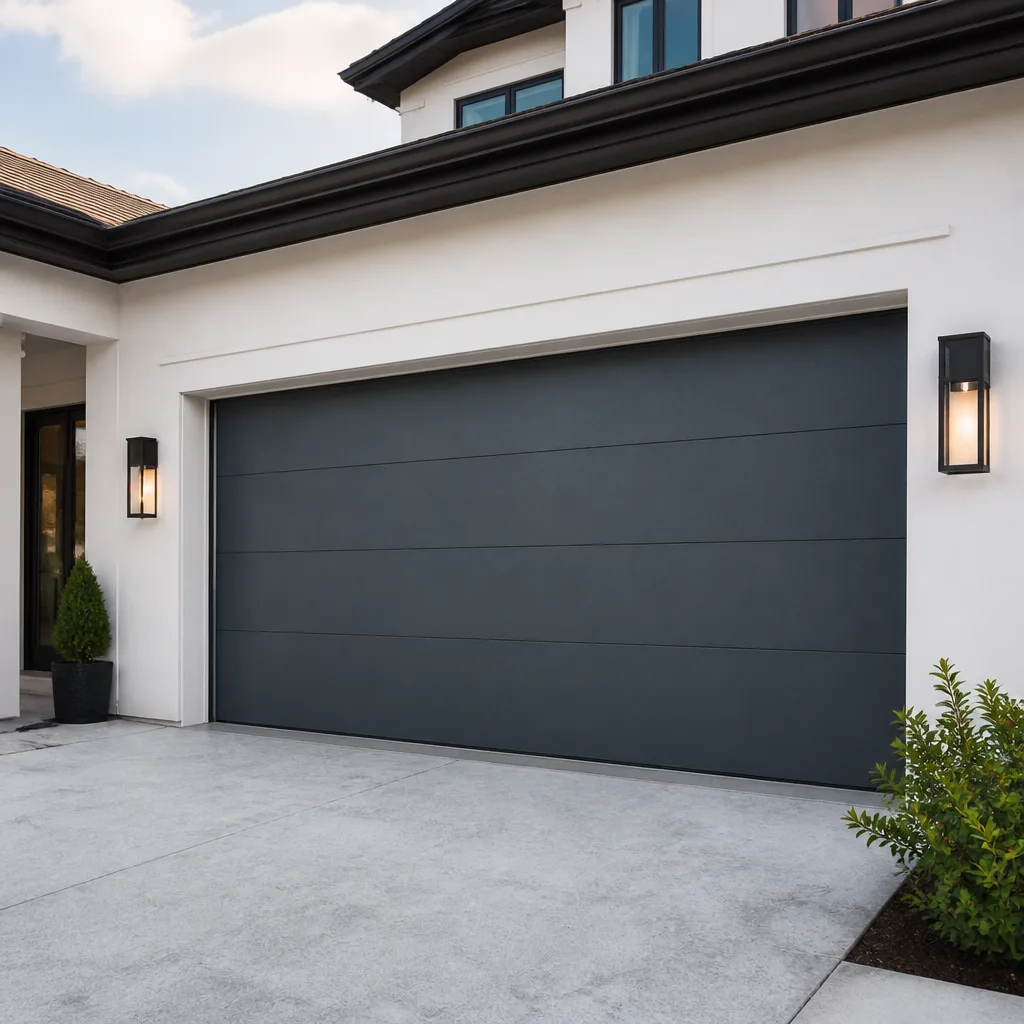 Modern flush
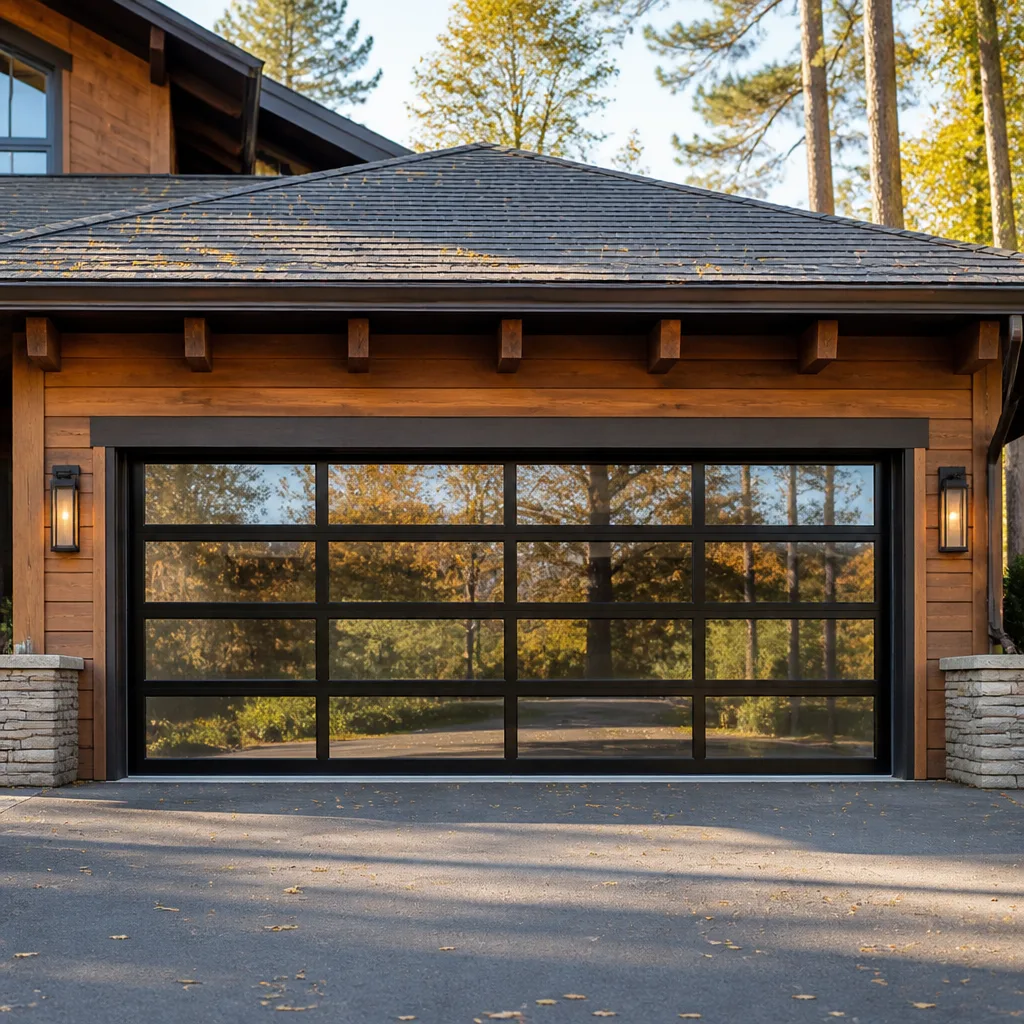 Full-view glass
 LiftMaster openers
 Chamberlain openers
Full 25-point door and opener safety check with every visit - springs, cables, rollers, tracks, and your LiftMaster or Chamberlain opener included
You get a price before we start. It does not change when the pro arrives.
Get your free estimateDIY vs Professional Garage Door: The Columbia Homeowner’s Decision Guide
Most garage door advice frames the DIY question around skill. Can you handle a wrench? Are you handy? That framing misses the real issue. The better question is component by component: which parts of a garage door system are genuinely safe to touch, and which ones store enough energy or carry enough weight that a small mistake turns into a hospital visit.
A torsion spring, wound to balance a door that can weigh hundreds of pounds, holds that energy the entire time it sits there. When it releases, it releases in a fraction of a second. The tutorials that make spring work look routine are filmed by people who have done it many times, and that repetition is exactly what makes it look calm. This guide breaks the whole system down task by task so Columbia homeowners can tell the difference between a Saturday project and a job for a trained technician.
Quick Answer
Safe DIY garage door work is limited to cleaning, lubrication, visual inspection, tightening exposed bolts, and replacing batteries or remote controls. Anything involving torsion springs, extension springs, cables, bottom brackets, or the door’s balance under tension should go to a professional, because those parts can cause serious injury even to experienced hands. In Columbia, the sensible approach is to do the low-risk maintenance yourself and call a professional for anything that changes how the door carries its weight.
Styles & brands we work with
- Raised-panel steel
- Carriage house
- Modern flush
- Full-view glass
- LiftMaster openers
- Chamberlain openers
Table of Contents
- The Task-by-Task DIY Matrix
- Why Springs and Cables Are a Different Category of Risk
- The Honest Cost Comparison: Labor, Tools, and Mistakes
- Which Opener Brands Are Friendlier to DIY (and Which Aren’t)
- South Carolina Liability If a DIY Repair Goes Wrong Later
- Smart DIY Prep Work That Lowers Your Professional Bill
- What’s Specific to Garage Doors in Columbia
- When to Call a Professional
The Task-by-Task DIY Matrix
The clearest way to decide is to sort every garage door job into one of three buckets: fine to do yourself, do with caution and a second person, and never DIY. Here’s how the tasks actually break down.
Safe for DIY
- Wiping down and lubricating hinges, rollers, and the track with a proper garage door lubricant.
- Tightening bolts on the hinges and the door’s connecting arms with a socket wrench, checking that nothing is stripped.
- Cleaning the photo-eye lenses at the bottom of the track and confirming the safety reverse works by passing an object through the beam.
- Replacing batteries in remotes and wall keypads.
- Testing the door’s balance by hand with the opener disconnected, to see whether it stays put halfway open.
- Painting or staining a wood door, or touching up a steel door’s finish.
Do With Caution
- Replacing rollers, which requires lifting the door slightly and supporting it safely before removing a roller.
- Replacing the bottom weather seal, which is simple but requires the door to be fully open and secure.
- Adjusting the opener’s travel limits and force settings, which is straightforward but easy to set wrong and cause the door to reverse incorrectly or crush an object.
- Replacing a wall-mounted push button or adding a wireless keypad.
Never DIY
- Torsion spring replacement or adjustment.
- Extension spring replacement or adjustment.
- Cable replacement, including the cables running alongside the track.
- Bottom bracket work at the base of the door.
- Any work on the door’s track alignment when the door is under spring tension.
- Replacing high-tension components on a door that won’t stay open or is hanging unevenly.
If a task falls in the third bucket, stop there. Call garage door repair rather than working through it alone, because the tools and training required are not something a homeowner can improvise at the last minute.
Why Springs and Cables Are a Different Category of Risk
Torsion springs store mechanical energy to counterbalance the door’s weight. When you wind one, you’re loading a steel coil that wants to unwind. When you release the set screws on a wound spring, that energy is released whether your hands are clear or not. This is the reason professional technicians treat every spring job as a two-step procedure: no work begins until the door is fully de-tensioned, and no hand goes near a bracket until the tension is verified gone.
Extension springs are a different design but a similar hazard. Older Columbus doors often still use extension springs running above the track, sometimes without safety containment cables. If one breaks, the spring and its attached hardware fly free. Containment cables are a cheap safety upgrade, but installing them still requires safe handling of a live spring.
Cables are the third piece of the tension system. They run from the bottom bracket up to the drum and hold the door’s corners square. A cable under the wrong tension can snap, and the bottom bracket at the base of the door is under real tension whenever the door is closed. Homeowners sometimes discover this when they try to remove a bracket to replace a weather seal, and it’s the most common reason a small DIY job turns into an emergency call.
We’re direct about this with homeowners in Columbia because we’d rather be the call before the injury than the call after. High-tension garage door parts are the one area of the trade where the DIY risk isn’t about saving money or doing it neatly. It’s about whether your hands are in the wrong place when something releases.
The Honest Cost Comparison: Labor, Tools, and Mistakes
The DIY case usually rests on “I’ll save the labor cost.” That comparison misses three things: the tools you actually need, the mistakes that cost money to fix, and the warranty void that may follow.
What DIY Actually Costs
- Winding bars: a proper pair is required for any torsion spring work. Improvised substitutes like screwdrivers are the leading cause of DIY spring injuries.
- A socket set, adjustable wrenches, and clamps: basic, but more than most homes have on hand.
- A stepladder rated for the height of your door hardware: torsion springs are typically mounted above head height and often above a step stool’s safe range.
- Parts matching your door: spring wire gauge, inside diameter, and length have to match the door’s weight. A mismatched spring means it fails again, often quickly.
- The cost of a re-do: when a DIY spring or cable job has to be corrected, you pay the professional price for the original job plus the correction.
- Possible warranty void: many door and opener manufacturers specify professional installation in their warranty terms. Read yours before any significant DIY repair.
Estimated professional pricing for common jobs in the Columbia market, per job by written estimate:
- Torsion spring replacement (one spring): typical range depends on the door’s weight and spring size, and the written estimate sets the final number.
- Extension spring replacement (one spring): typically less than torsion, but still a job for a trained technician.
- Cable replacement: usually a per-cable price when done alongside spring work, more if done on its own because the tension system has to be reset first.
- Roller replacement: usually affordable enough that the tool and ladder cost of DIY makes the professional option close to even.
- Opener repair: varies by the failing component. A logic board or drive gear is a very different number than a safety sensor or remote.
These figures are estimates only, and the actual price is set by the written quote we give before any work starts. That’s the number that matters, and it’s the same number you’ll see on the invoice.
Which Opener Brands Are Friendlier to DIY (and Which Aren’t)
Opener work is a separate category from door hardware. The electrical hazard is real, but the stress is on the low-voltage side once the unit is powered down. Some brands make DIY easier with better documentation and app support. Others assume a professional is doing the install and their manuals reflect that.
Friendlier to DIY
- Chamberlain and LiftMaster: both publish thorough installation guides and support their Wi-Fi and myQ connected features through well-documented apps. Smart features are generally set up through the app rather than through the opener’s physical controls, which is easier for homeowners.
- Craftsman: widely installed in older homes and supported by reasonable, if somewhat dated, documentation. Legacy remotes and keypads are easy to pair.
Assumes Professional Setup
- Genie: solid systems with reliable documentation, but some connected models expect a technician to walk through pairing and travel-limit setup. That’s not a knock on the brand, just a reality of how the manual is written.
- Pre-2010 units of any brand: many late-1990s and early-2000s openers use proprietary safety sensors that don’t play well with aftermarket parts, so DIY attempts to swap components can create a fault that’s hard to diagnose.
If your opener is throwing an error code you can’t identify, that’s the moment to stop chasing the manual. Our garage door opener repair service covers both legacy units and modern smart systems, so the diagnostic doesn’t depend on the year your opener was built.
South Carolina Liability If a DIY Repair Goes Wrong Later
This is the part of the decision most guides skip. If you sell the house and a repair you did three years ago fails and injures someone, the liability question doesn’t neatly disappear with the sale.
South Carolina follows a general rule that a homeowner who performs their own work is responsible for the work’s quality. In practice, that can mean exposure if someone is injured by the door and the repair is found to have been improperly done. The chain of liability is complicated by who knew what when, who had the door inspected, and what documentation exists.
A professional repair, by contrast, comes with a record: a written estimate, an invoice, and a paper trail of what was replaced. That record helps in a claim situation and it helps when a buyer’s home inspector looks over the property. If you’re planning to sell, a professional repair on record is worth more to the buyer than a story about “I fixed it myself.”
In Columbia, garage door repairs that affect the door’s attachment to the house should always be done by a licensed technician. Our team is insured for the work, and we can give you the documentation that follows it. If the work is minor enough to be DIY, we’ll say so.
Smart DIY Prep Work That Lowers Your Professional Bill
There’s a real middle path. You don’t have to choose between doing everything yourself and doing nothing. A few hours of safe preparation before a professional visit reduces the diagnostic and setup time, which reduces the bill. Here’s the sequence we recommend for a homeowner planning a call about a broken door or a worn opener.
- Clear the garage floor and the area under the door. Technicians need room to work safely, and having the area clear is a small thing that saves real minutes on a visit.
- Write down the symptoms in specific terms. “The door stops six inches off the floor and reverses” is more useful than “the door is broken.” Note when it started, what you heard, and whether the opener’s light is blinking a pattern.
- Note the door’s brand and model. If you can see a sticker on the door’s hinge or the opener’s housing, jot it down. If it’s a Clopay or Amarr door, the model number usually sits on the lower panel.
- Disconnect the opener if the door is stuck open. Pulling the red release cord converts the door to manual operation and stops the opener from fighting a jammed door. Do not disconnect if the door is stuck closed and the spring may be broken; call first.
- Check the photo-eye alignment. Both lenses at the bottom of the track should have a steady light. If one is dark or blinking, clean the lens with a soft cloth and check for an object in the beam.
- Inspect and note, but do not touch, spring and cable issues. A visible gap in a torsion spring or a frayed cable is a professional call. Telling us in advance which side of the door the issue is on speeds up the visit.
- Gather any replacement parts you’ve already bought. If you ordered a remote, a weather seal, or a new roller set, have it on hand. Compatible parts mean less back-and-forth.
None of this is risky, and all of it avoids the scenario where a technician arrives, finds the door locked or a car parked underneath, and has to come back. Our technicians have up to 8 years of experience, and they can diagnose a lot from a clear description before they’ve even opened the van.
What’s Specific to Garage Doors in Columbia
Garage doors in Columbia face a specific mix of conditions: hot, humid summers, occasional severe thunderstorm activity, and pollen seasons that coat tracks and rollers with grit. Those conditions shape which DIY tasks are worth the effort and which are better handled by a professional who knows the local houses.
Humidity and wood doors. Columbia’s summer humidity expands wood door panels and swells wood jambs, which can make a door stick without anything being broken. If your wood door suddenly won’t close in July, it’s often a seasonal adjustment, not a failure. Cleaning and lubricating is DIY; adjusting the panel alignment is best left to a professional because it affects the door’s balance.
Pollen and grit in the tracks. Pollen settles into track channels and roller bearings and wears them out faster than in drier climates. A monthly wipe-down of the tracks is a genuinely useful Columbia routine. Replacing worn rollers is where it gets more involved, because the door has to be lifted and supported.
Storm activity. Hail is uncommon here, but strong thunderstorms and high winds do affect doors. A door that has been hit by flying debris can have bent panels that look fine but no longer slide cleanly. That’s a professional assessment, not a DIY repair.
Neighborhoods and door types. Homes in areas like Shandon, Forest Acres, and Rosewood often have older wood or steel doors with legacy extension spring setups, which are a different service profile than the newer Clopay and Wayne Dalton doors in suburban neighborhoods. If you’re not sure which system yours is, our Columbia service pages walk through what we typically see.
Older homes and opener upgrades. A lot of Columbia homes still run on pre-2010 openers, and an upgrade to a modern LiftMaster or Chamberlain unit is usually a better use of money than a series of DIY repairs on old electronics. That’s a conversation we’re happy to have honestly.
Common Mistakes to Avoid
- Using screwdrivers in place of winding bars. This is the leading cause of serious DIY spring injuries. Winding bars exist for a reason, and improvised substitutes are what turn a spring job into a hospital trip.
- Replacing one spring when the pair is evenly worn. Springs wear together. Replacing only one leaves the door unbalanced and puts uneven stress on the other, which usually means a second failure sooner than you’d expect.
- Adjusting opener force limits to hide a heavier problem. Cranking up the force setting to compensate for a stiff door masks the real issue, which is usually the door hardware, not the opener.
- Ignoring a frayed cable because the door “still works.” A cable with broken strands can fail suddenly and is not a wait-and-see situation. In Columbia’s humidity, cables and springs corrode slowly, so visual checks matter.
- Painting over a door that’s about to need spring service. Painting is fine to DIY, but if the door is showing balance issues, paint money is better spent diagnosing the mechanical problem first.
- Skipping the manual-check test. Every homeowner should know how to disconnect their opener and test the door’s balance by hand. Most don’t, which is why balance problems go unnoticed until something breaks.
- Assuming one brand’s app works with another brand’s opener. Wireless remotes and app integrations are brand-specific. Pairing a LiftMaster remote to a Genie opener doesn’t work, and neither does a Chamberlain app on a Craftsman unit.
See the difference
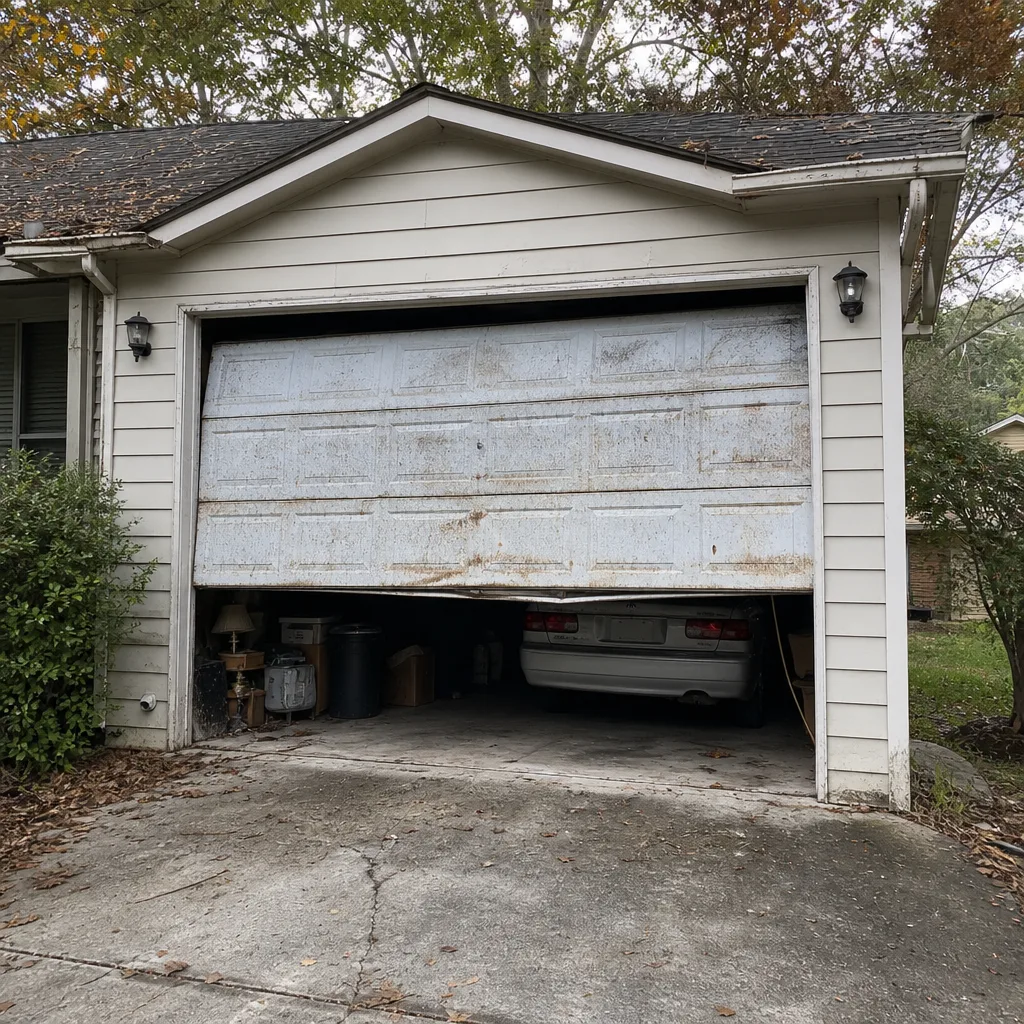 Before
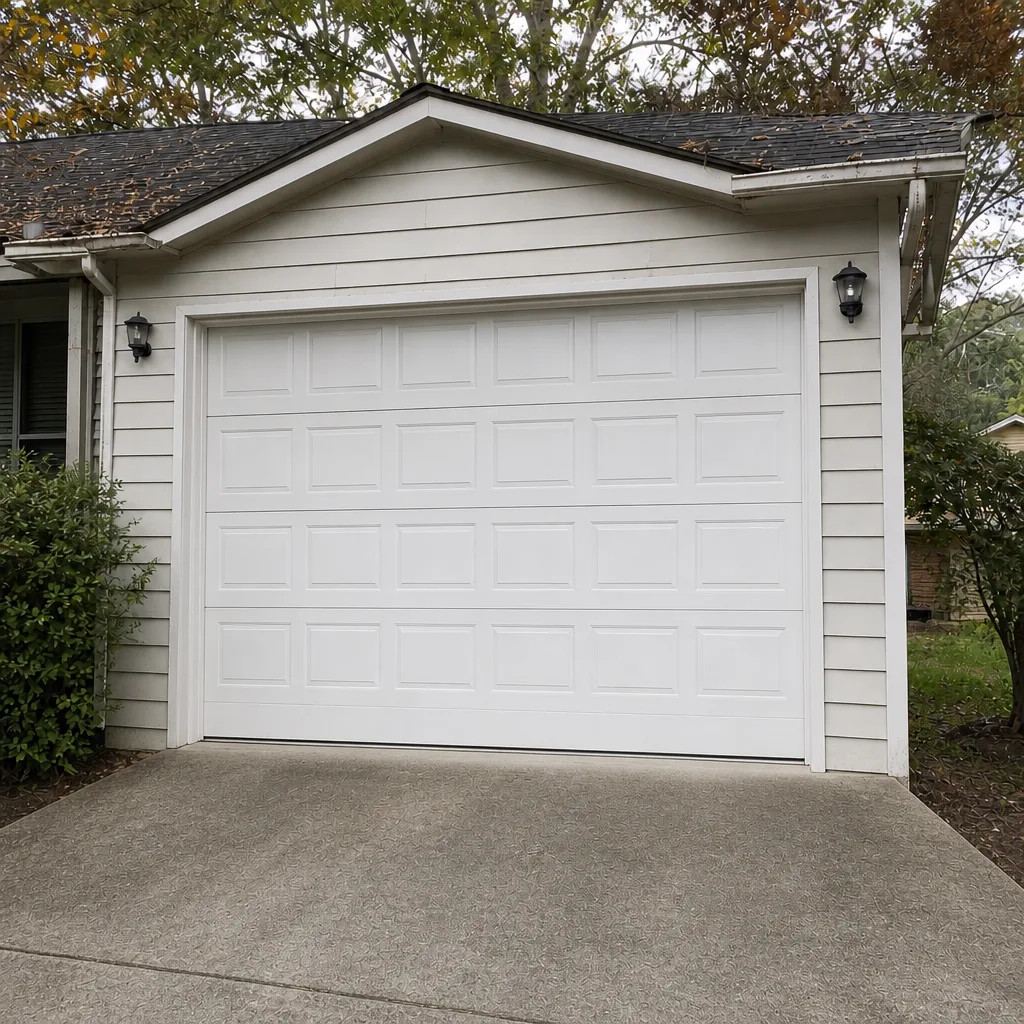 After
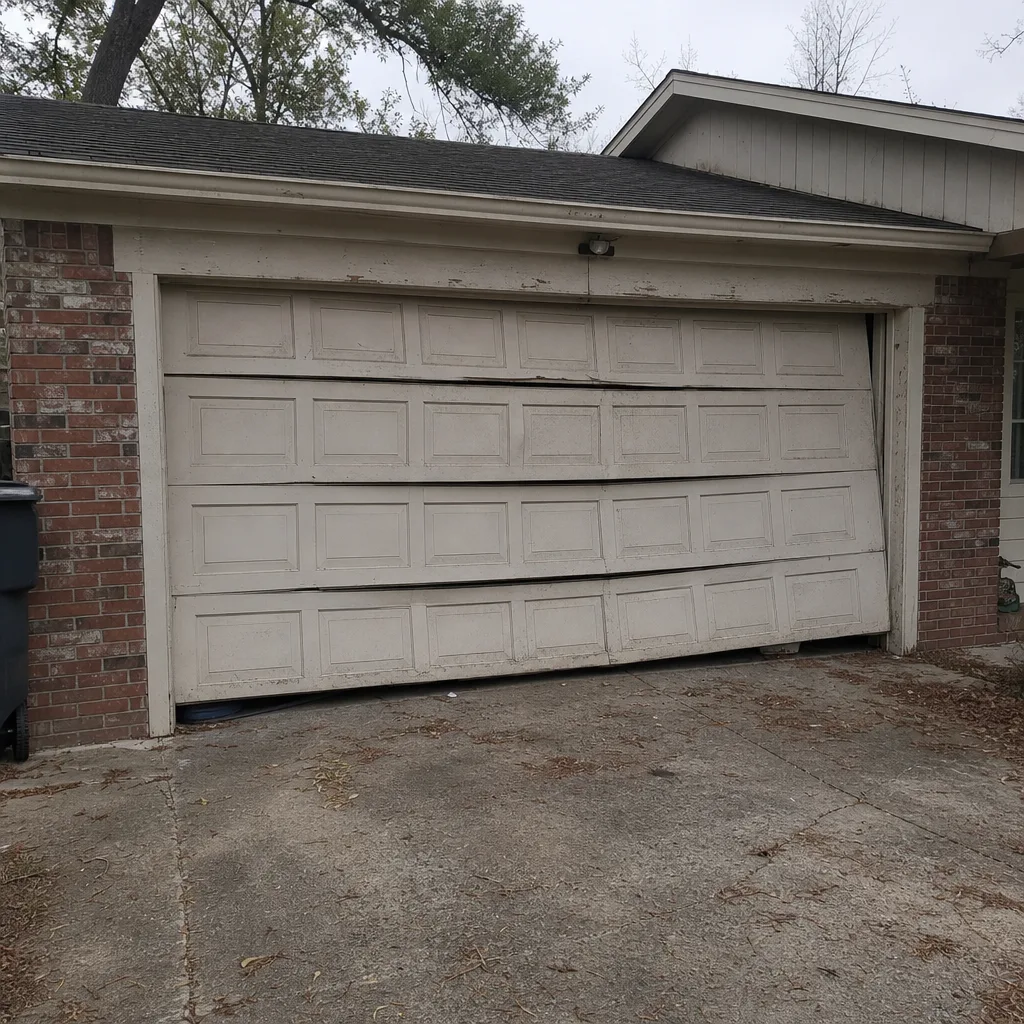 Before
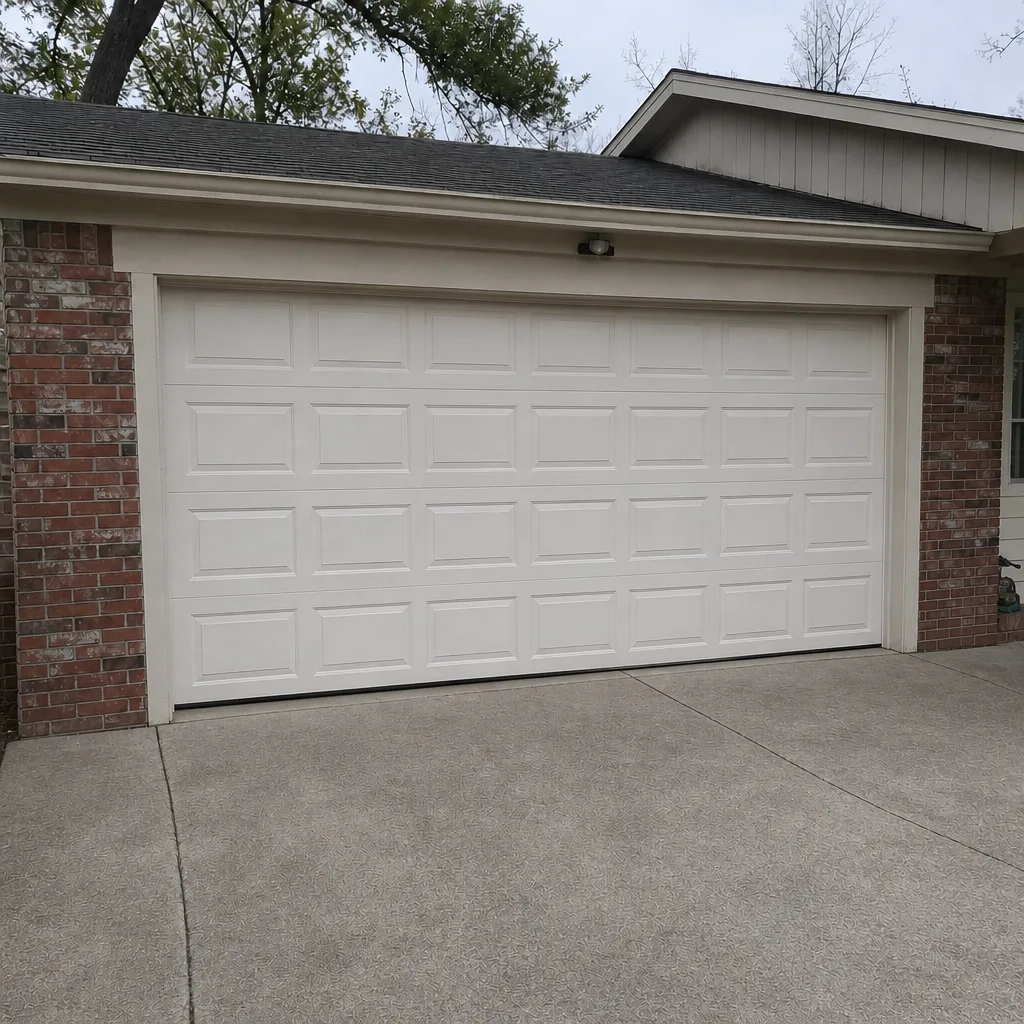 After
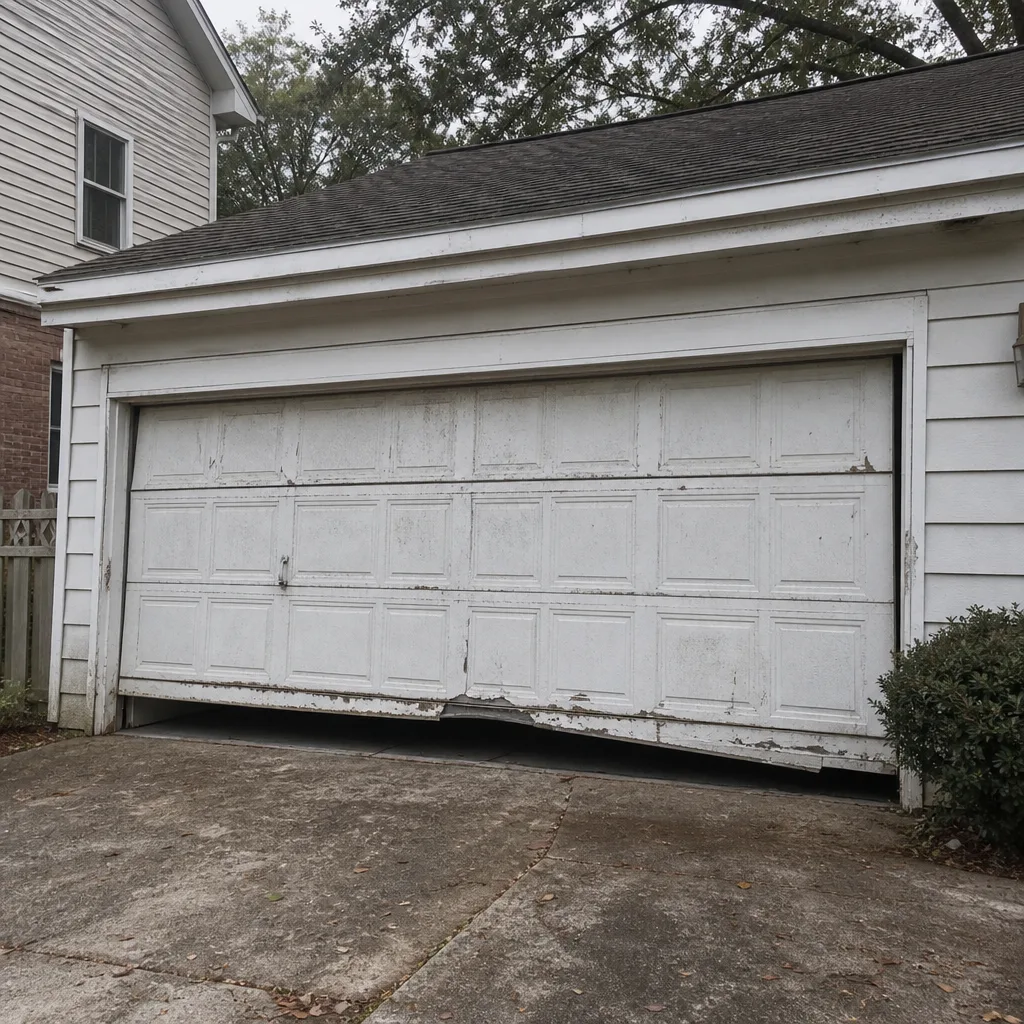 Before
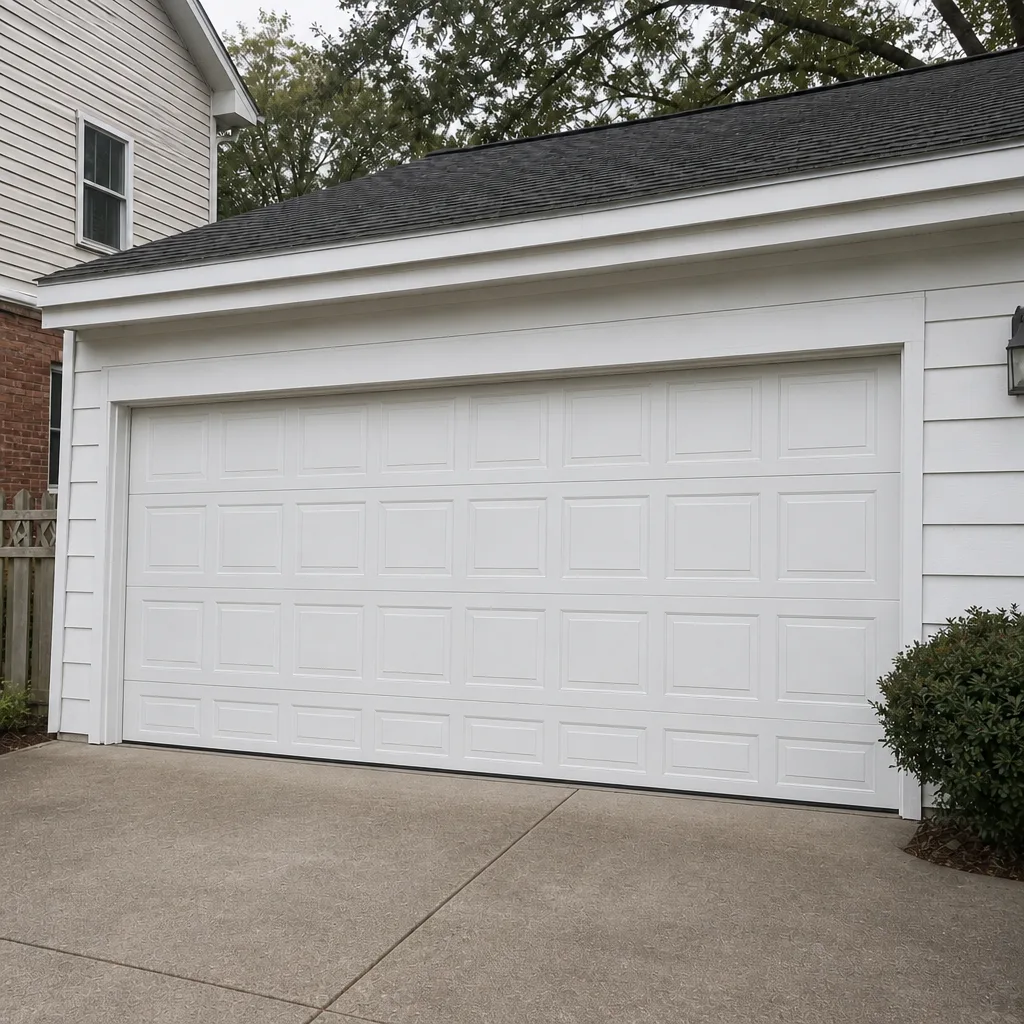 After
When to Call a Professional
Call a professional if the door won’t open or close smoothly, if you hear a loud bang from the spring area, if the door hangs crooked, if a cable looks frayed, or if the opener runs but the door doesn’t move. Those are all signs the tension system needs a trained hand. Also call if the door reverses without an obstruction or if the safety reverse no longer functions.
For straightforward maintenance, a tune-up, or an honest second opinion on whether your door needs replacing, a professional visit is still a good idea. Clarity Garage Door Service offers free estimates in Columbia. Our garage door repair and installation services cover Clopay, Amarr, Wayne Dalton, Craftsman, and the other major brands found in Columbia homes, and the price is quoted and agreed before any work starts. Call (833) 391-2958. We answer 24/7. Fast dispatch from 7am to 7pm, Sunday through Friday.
Frequently Asked Questions
No. Torsion and extension springs are under enough tension to cause serious injury, and homeowners without winding bars and training should not attempt the job. Call (833) 391-2958 for a professional repair. Estimates are free.
Spring repair pricing depends on the door’s weight and the spring type, and the written estimate sets the final number. A torsion spring typically costs more than an extension spring, and a matched pair costs roughly twice a single spring because both are usually replaced together. Call (833) 391-2958 for an exact quote.
Same-day service is often possible. Fast dispatch runs from 7am to 7pm, Sunday through Friday, and we answer 24/7. If the door is stuck open and you can safely disconnect the opener, pull the red release cord before calling. Call (833) 391-2958.
No. The price you’re quoted before work starts is the price on the invoice. Diagnostics happen before any work is authorized, so you’ll know exactly what’s wrong and what it costs before a single bolt is turned.
Yes, our technicians are state-licensed and the work is insured. Our technicians have up to 8 years of experience, and the price is agreed in writing before work begins. Call (833) 391-2958 for a free estimate.
Yes, routine lubrication and track cleaning are absolutely worth doing yourself, especially in Columbia. Humidity and pollen wear out rollers and cables faster here than in drier climates, and a monthly wipe-down is a genuinely useful habit. Anything involving springs or cables should still go to a professional. Call (833) 391-2958 if you’re unsure which category a job falls into.
The Bottom Line
Garage door DIY is worth doing for cleaning, lubricating, tightening, testing, and remote batteries. It’s not worth doing for anything involving springs, cables, bottom brackets, or the door’s balance under tension. Those parts can release stored energy faster than you can react, and the tools to do the job safely aren’t in most homes.
The honest math on cost includes tools, mistakes, and warranty. For most Columbia homeowners, that math favors professional help on the dangerous components and DIY on the routine upkeep. Keep your door lubricated, test the safety reverse, and call before something gets worse rather than after. Call (833) 391-2958 for a free estimate. The price is agreed in writing before any work starts, and the number on the invoice is the number on the quote.
Written by the team at Clarity Garage Door Service.